
 First the bottom skins go on (the ones that wrap around the nose), but
most of the top-side rivets are left open. Then the flaperon attach brackets go on (through slots in the bottom skins), then the top skins go on,
and then you finish up by lapping the bottom skin over the front of the
top skin and adding the wing-walk doubler skin at the wing root. To the right is a picture of a flaperon attach bracket.
First the bottom skins go on (the ones that wrap around the nose), but
most of the top-side rivets are left open. Then the flaperon attach brackets go on (through slots in the bottom skins), then the top skins go on,
and then you finish up by lapping the bottom skin over the front of the
top skin and adding the wing-walk doubler skin at the wing root. To the right is a picture of a flaperon attach bracket.All the Vans wing skins have ⅛-inch rivet holes pre-punched at the factory and generally no deburring was required. In the next picture I'm finishing up the process of lapping the bottom skin over the top skin and fastening with clecos:

Can you see the last rivet in this picture?

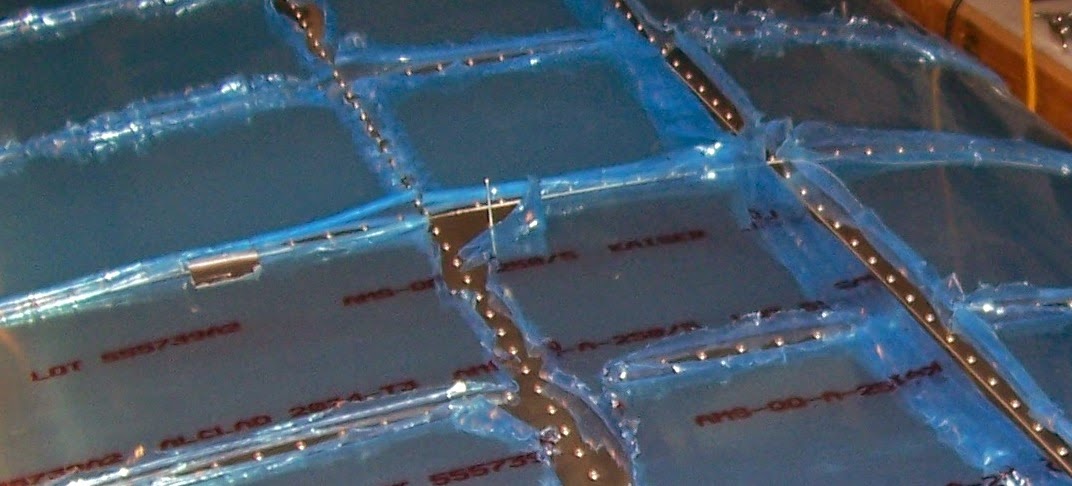
Of course it would look prettier without all the blue plastic on, but for now I like having it to protect the aluminum skins from scratches.