
Step 1 of Section 10 has us "break" the edges on six 8' tailcone skins. By "break" they mean bend the long edges of the skins a few degrees so that the overlapping edge is flat and snug when the skin is riveted (the clamping pressure of a rivet can cause the edge to lift a little bit). Due to the geometry of the tailcone (radius is smaller at the back end than the front end) the bend, or "break", increases as you move down the narrow end(s) of the skin(s). Fortunately there's a handy tool for breaking edges (shown in the picture) that I borrowed from the guy at work. Apparently it's easy to use once you learn how. Problem is I don't know how to use it. Seriously. Clueless. Never seen it done before. The owner of the tool never used it either. So I put a message out to the Sacramento RVators group to ask for help.

Right away the group's founder, president, secretary, treasurer, and newsletter editor, Ed Martinson, put me in contact with Kerry Richburg, a retired fellow who flies a beautiful RV-9A he built at Sacramento Executive airport. Kerry took time out of his morning (he was prepping to fly to Monterey) to introduce me to the edge tool and a few other tools that I'll be needing down the road, including a tube bender and fuel line flaring tool. The SacRVators group loans them out like a library book so that RV builders don't have to shell out dough for an expensive tool they may only use a few times. Here's a picture of Kerry and his -9A:

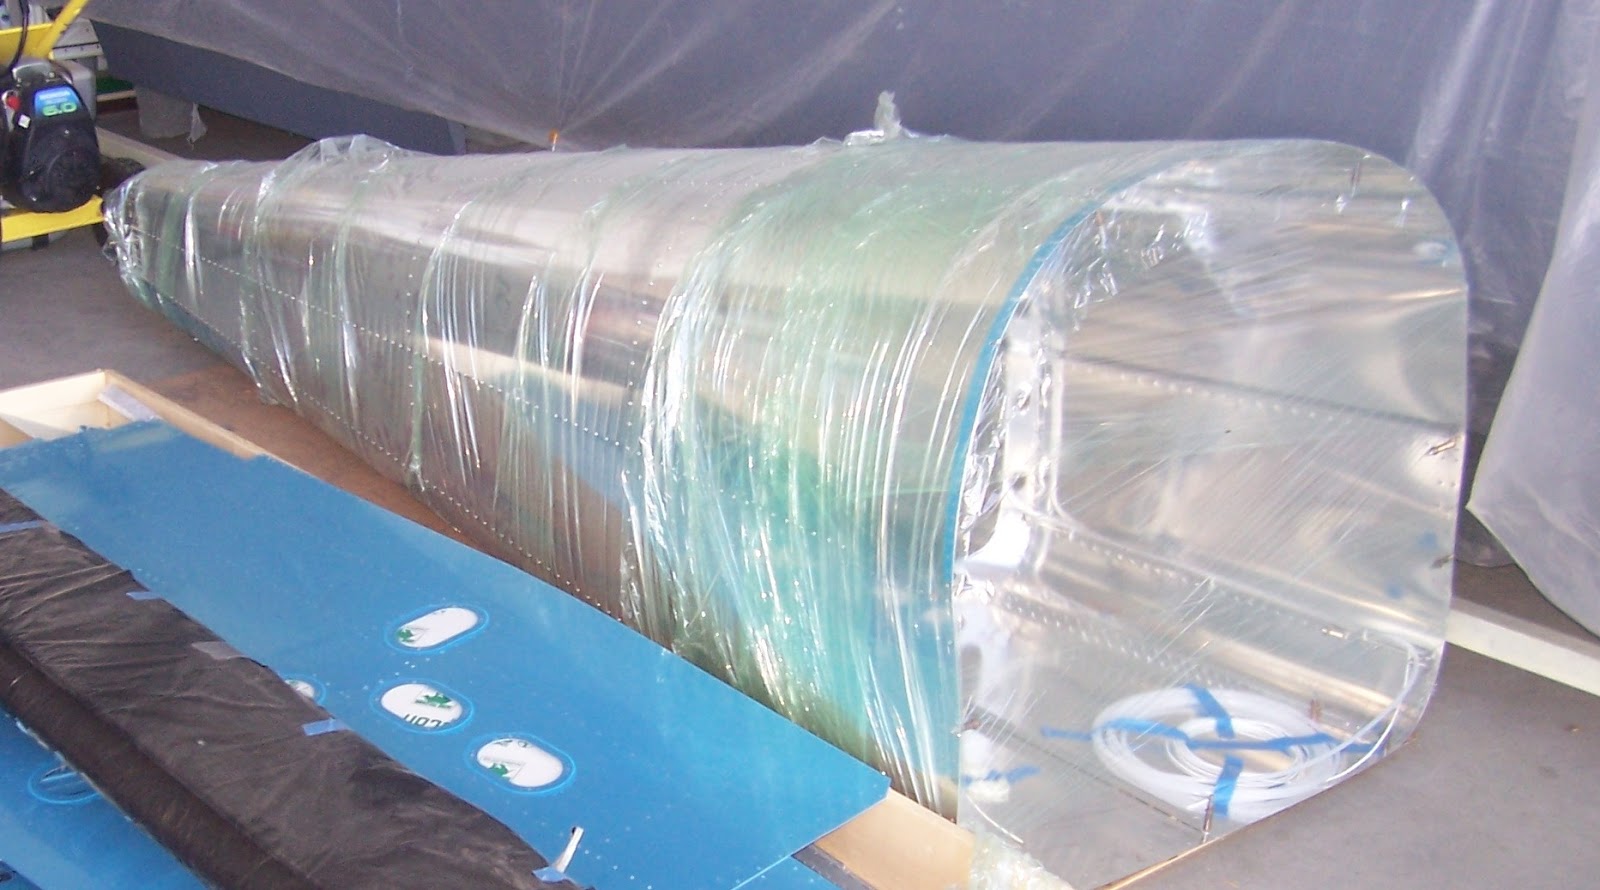
Kerry demonstrated proper technique for breaking an edge and gave me some scrap aluminum to practice with (it's not like you can just pick up 2024-T3 0.020" aluminum at Home Depot, and none came with the kit). He also passed along info about a flying club called DGA (Damn Good Association) located at the other end of the airport. The club's hangar is open weekends and anyone can drop by and take the nickel tour of some of the club's 10 different airplanes. At any given time the club is always rebuilding some vintage aircraft, but the latest project acquired by the club is a partially-completed RV-12. It seems that the original builder became ill (Alzheimer's or Parkinson's or something like that) and was unable to finish. So the club bought his partially completed -12 for less than the cost of the kits. The finished parts include the stabilator, vertical stabilizer, rudder, trim tabs, tail cone, wings, flaperons, and most of the fuselage, all very nicely put together. Here's a picture of the tail cone, which is the part that I'm just now starting:
I asked one of the builders there, Mark Z., how long he thought it would take the club to put the -12 together and he said that they would probably have it flying by April. Holy c*@p! He also speculated that, with high fuel prices, it would be a very popular airplane for the club. The good news is that there's at least one CFI (that's FAA-certified flight instructor you land-lubbers) in the club who will be able to provide the necessary transition training in the -12 before it's my turn to once again "slip the surly bonds".
November 2014 Update:
Okay I'm back from the future. The DGA RV-12 was completed and certified airworthy in July 2013. Club members flew it around, added wheel pants, and recently had it painted. Here's a picture of N471PD:

Congratulations DGA!


