

Didn't have any issues (I hope) following the instructions on pages 9-3 (prepping the spar box) and 9-4 (installing the counterbalance arm bracket); don't have any interesting stories to tell (Chinese curse: may your day be interesting); didn't take any pictures; and I'm behind on my blogging so I'm skipping past those pages. I just hope that I got the nut plates for the upper and lower stabilator horns riveted in the right place. If the horns don't bolt in just right, it would be bad. Really bad.
Page 9-5 has us cut a short piece of aluminum tube into four shorter pieces of aluminum tube. They'll be used as hinge stops.
 It's actually quite a
It was difficult making the ends perfectly square, but the final tube lengths came out to 0.666 +/- .004, 0.674" +/- .003, 0.676 +/- .002, and 0.672 +/- .001. Two were ground down below spec. (Rats!) I suspect that's why Van's included two of the tubes in the kit. They know.

On Page 9-6 Van's suggests that "A great way to form the radius [of the rib tips] is with a fine file." Since there are 8 foward ribs (and, thus, 16 tips to radius), I think they say that to get a laugh, like the instructions to use a metric crescent wrench. A scotch-brite wheel is wayyy faster and is the one indespensible tool if you want to get the plane done before it's time to move into the old folks home. Here's the before and after picture:

Attaching the ribs on the spar is encouraging because you know it won't be long 'til the skin goes on, which, in my case, will free up a lot of space on the shop table. The pop rivets used are fairly dummy proof, but unfortunately the tiny space between the rib and rivet post makes it hard to get a pop rivet tool on the rivet post.

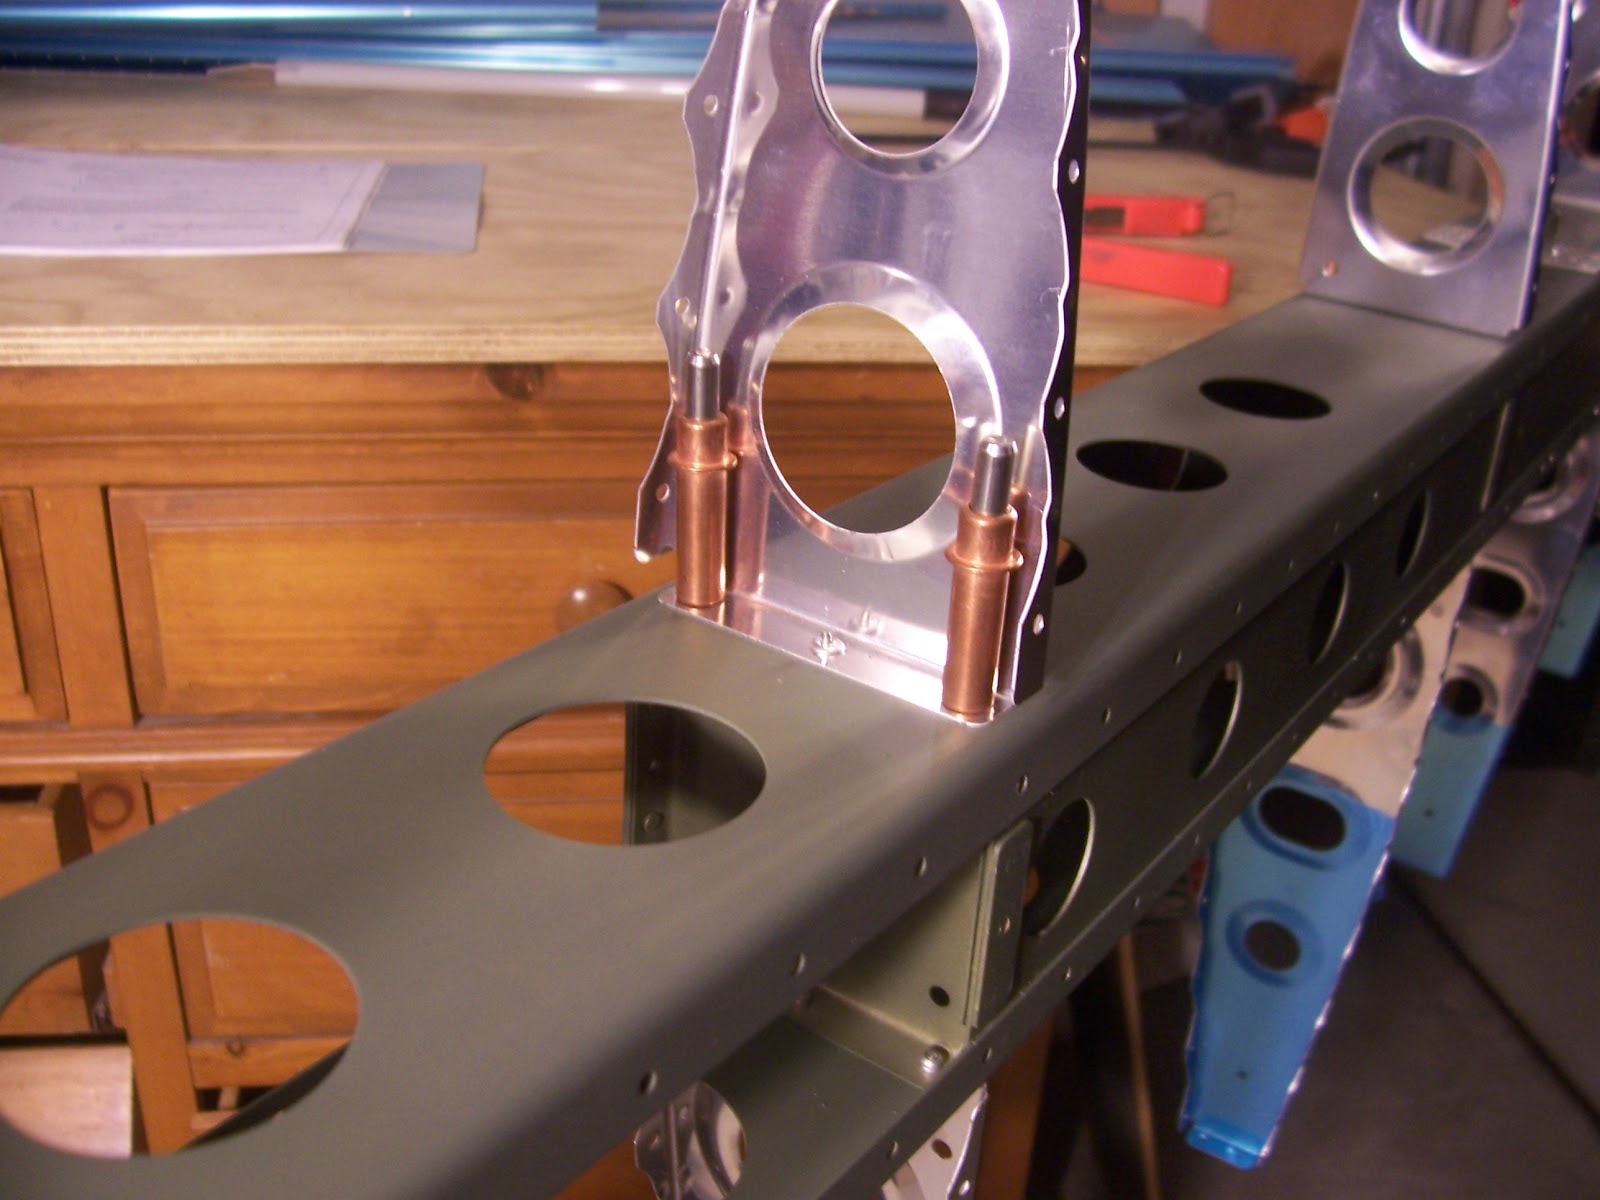
That's what these little wedges are for. Sometimes you use one, sometimes two. Sometimes you start with two and then switch to one. The instructions don't really say. They help you get the rivet tool on the post, or mandrel, and pull it at an angle till it "pops" (breaks off). Bending the rib over a little bit helps too.
Speaking of rivet tools, I've been lobbying a coworker to let me "try out" his pneumatic pop-rivet puller for months. I think I'm finally wearing him down. Just in time too. The two stabilator skins use almost 600 pop rivets. Once he realized that it had a lifetime warranty he seemed a bit less concerned about me borrowing it. Smart guy.

And now we have a nice rivet in a very hard to get at location. Whew! Just 30 more to go...
You will use more of that tube when you put together the tray for the trim motor, I think, so keep the rejects!
ReplyDeleteThanks for the tip, Dave. You saved me again. I'll hold onto the rejects.
DeleteAnd congratulations on completing your RV-12!
Hey Kevin,
ReplyDeleteNoticed you have the spar primer but not the ribs? I'll look through your post to see what you decided on primer. I'm just getting started and the primer really adds a significant amount of time in prep and planning. I'm going to stick to it though cuz that's how real airplanes are made and in the SF bay area corrosion is a problem.
Thanks for commenting. The top picture in the 10/22/12 blog posting shows that the stabilator ribs were sprayed with rattle-can self-etching primer before the skin went on. If I was in the bay area I would definitely consider some advanced corrosion protection on these parts.
Delete