Last weekend I finished putting together and attaching the lower firewall assembly. The picture below shows the most intimidating step: Smearing fuel tank sealant on the upper flange of the firewall before the firewall "shelf" goes on. It was only intimidating because it's the first time mixing and using the stuff, but really no big deal. The one-ounce size ordered from Van's was plenty and had the advantage of both parts of the mix being pre-measured. It even came with a popsicle stick to use as a spatula to mix and spread the stuff around.
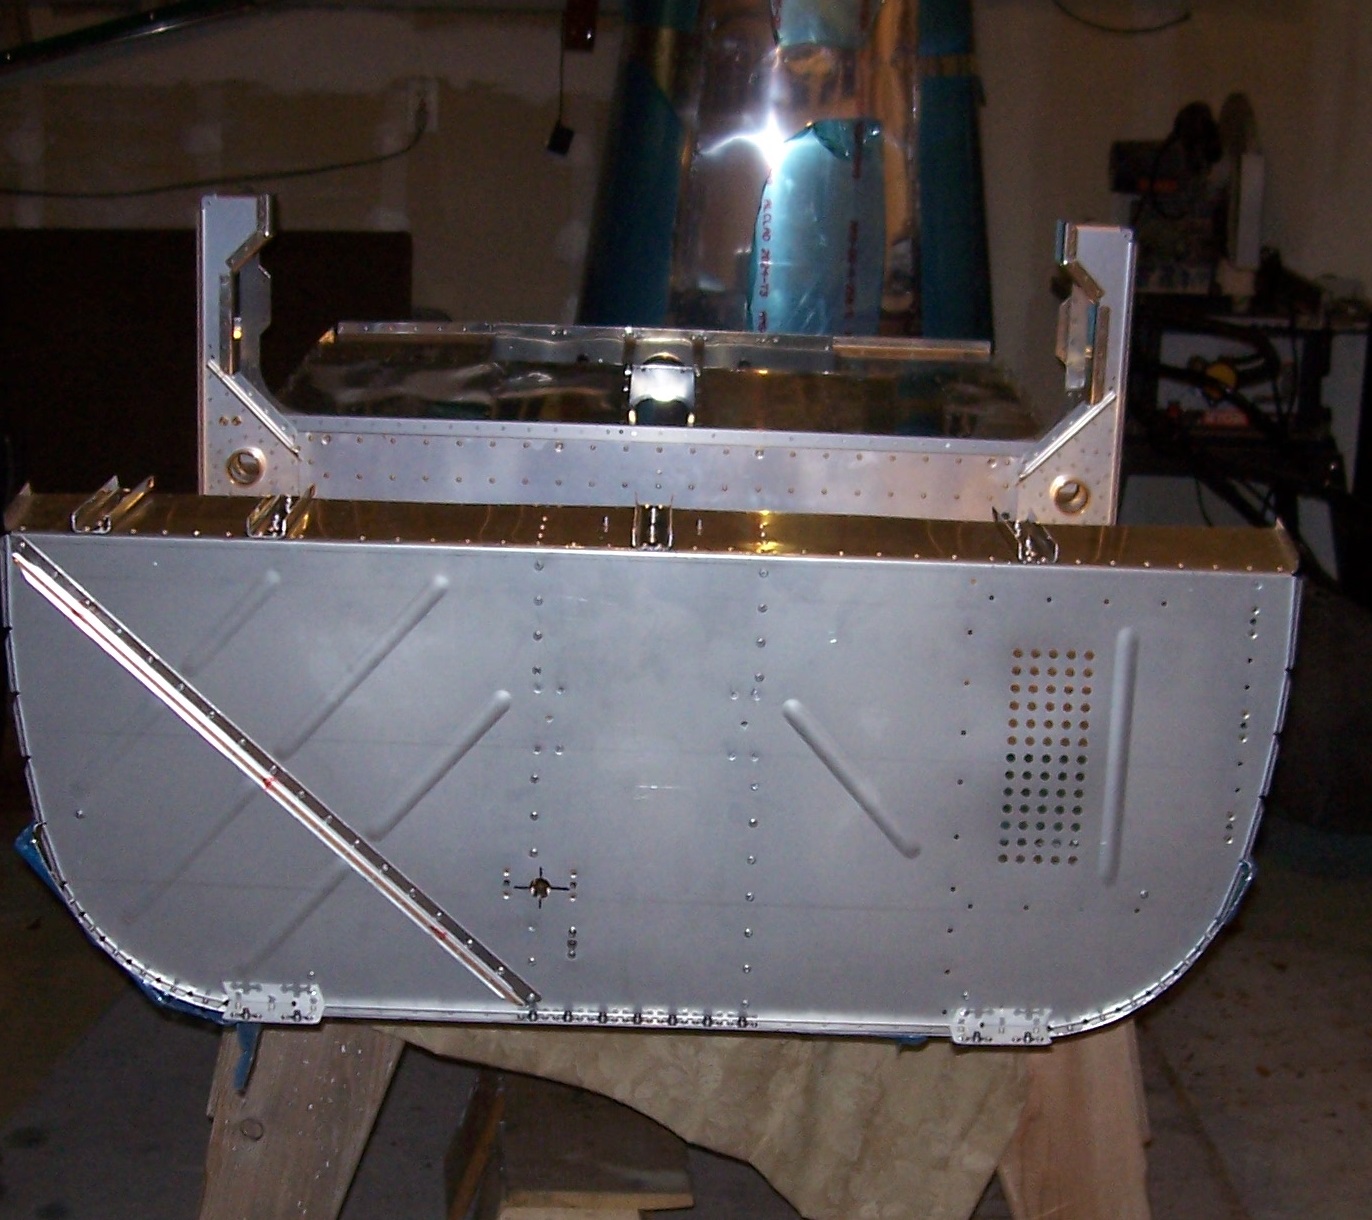
And here it is with the firewall shelf attached and riveted.
Once again my truck bed is doing double-duty as a work bench, mostly because I haven't cleaned and organized in a while. The seat cushions, used to protect the bottom skins from scratches, are from a table set we had when the wife and I first got married. It was cheap and the chairs eventually broke but the seat cushions still come in handy every now and then. Someday the plane will be on it's own three legs and I'll happily free up limited garage space by tossing the cushions.

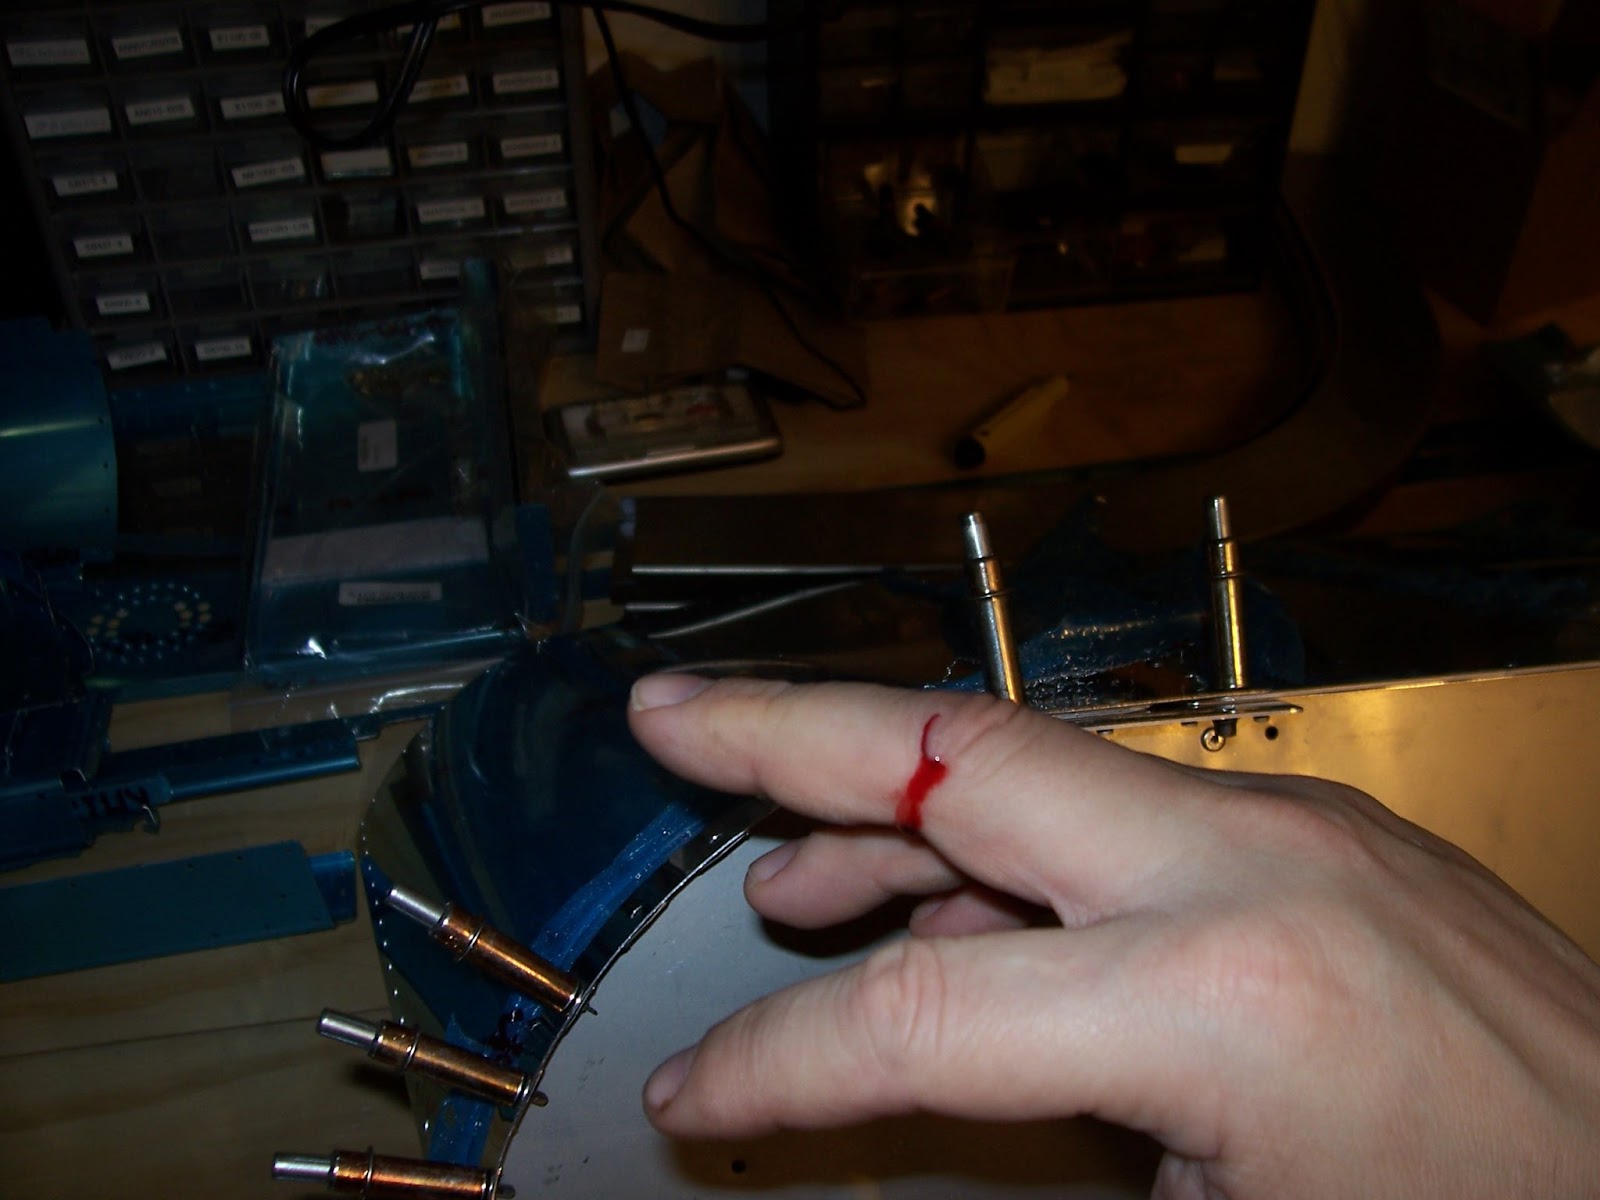
I probably got other nicks along the way but this was the worst so far. The steel firewall just isn't as finger-friendly as the rest of the parts and skins, made mostly from aircraft aluminum. I read somewhere that you can't build an airplane without getting at least a little blood on it.
Once the fuel tank sealant cured it was time to add 18 inches of length to the fuselage by attaching the lower firewall assembly with clecos followed by pop-rivets.
Either due to the reflection off the shiny bottom skins, the poor lighting, or just the image quality you get from an old camera, the clecos used to temporarily hold parts together can look kind of strange in the photographs. Here's a picture of the bottom of the fuselage with all the bottom rivets done and clecos <mostly> removed.
And here it is with the fuselage turned right side up again. RV-12 builders should note that you'll want to rivet the "vertical" rivets first before the bottom skin rivets.
It looks a little happier now, doesn't it?


 I probably got other nicks along the way but this was the worst so far. The steel firewall just isn't as finger-friendly as the rest of the parts and skins, made mostly from aircraft aluminum. I read somewhere that you can't build an airplane without getting at least a little blood on it.


Wow! Lots of work. Great Job!
ReplyDelete